
Japanese Matcha Baking
- Lacey Ramirez
- Feb 13, 2022
- 8 min read
Last month, I spent the month immersed in baking all kinds of matcha-flavored Japanese recipes. Read on for my favorite Matcha Melon Pan, Matcha Crêpe Cake, and Matcha Latte recipes.
Jump to the recipes: Matcha Melon Pan, Matcha Mille Crêpe Cake, Matcha Latte
My baking adventures continued last month with a deep dive into Japanese baking. To get into the spirit, I also tried learning Japanese, watched anime with Daniel, and wandered down a rabbit hole that led to hentai (don't Google it). I quickly learned Japanese language and cooking are impossible to master in a month. In fact, I didn’t even make it past level 1 on Rosetta Stone. So, I settled for something a little more familiar to me: some somewhat Americanized Japanese-esque matcha recipes.
Baking with matcha is not hard, but it has a few peculiar properties to take into consideration:
In its pure form, it’s very bitter. Some people, myself included LOVE this taste. Others think it tastes like grass. In baking, it needs to be balanced with sweetness from sugar, and in teas, it should be balanced with creaminess from milk. But for goodness sake, please don’t put sugar into matcha lattes or you won’t be able to taste the matcha flavor.
2) Matcha is heat sensitive, and baked goods can quickly turn from green to brown if they are overbaked. Of course, you also don’t want to serve raw batter. So, you have to tread a very fine line between underbaked and brown when working with matcha.
Admittedly, I made several batches of seemingly simple matcha baked goods that tasted more like raw potatoes than sweet treats. Those recipes don’t appear in this post for that reason.
On the flip side, some seemingly intricate and complicated matcha recipes like Matcha Melon Pan and Prue Leith’s Matcha Mille Crêpe Cake worked out perfectly on the first attempt. Both recipes took time to make, but to be honest, they were quite simple when you take things one step at a time.
Japanese baking month was far from perfect, but I am quite proud of what I was able to bake considering my limited experience with Japanese baking (i.e., last year during Japanese month, all I was able to make was one batch of liquified chocolate mochi that ended up in the trash can). I foresee lots of fluffy matcha and red bean buns in my future when I return to Japanese baking!
Read on for all the best of the matcha recipes I tried.
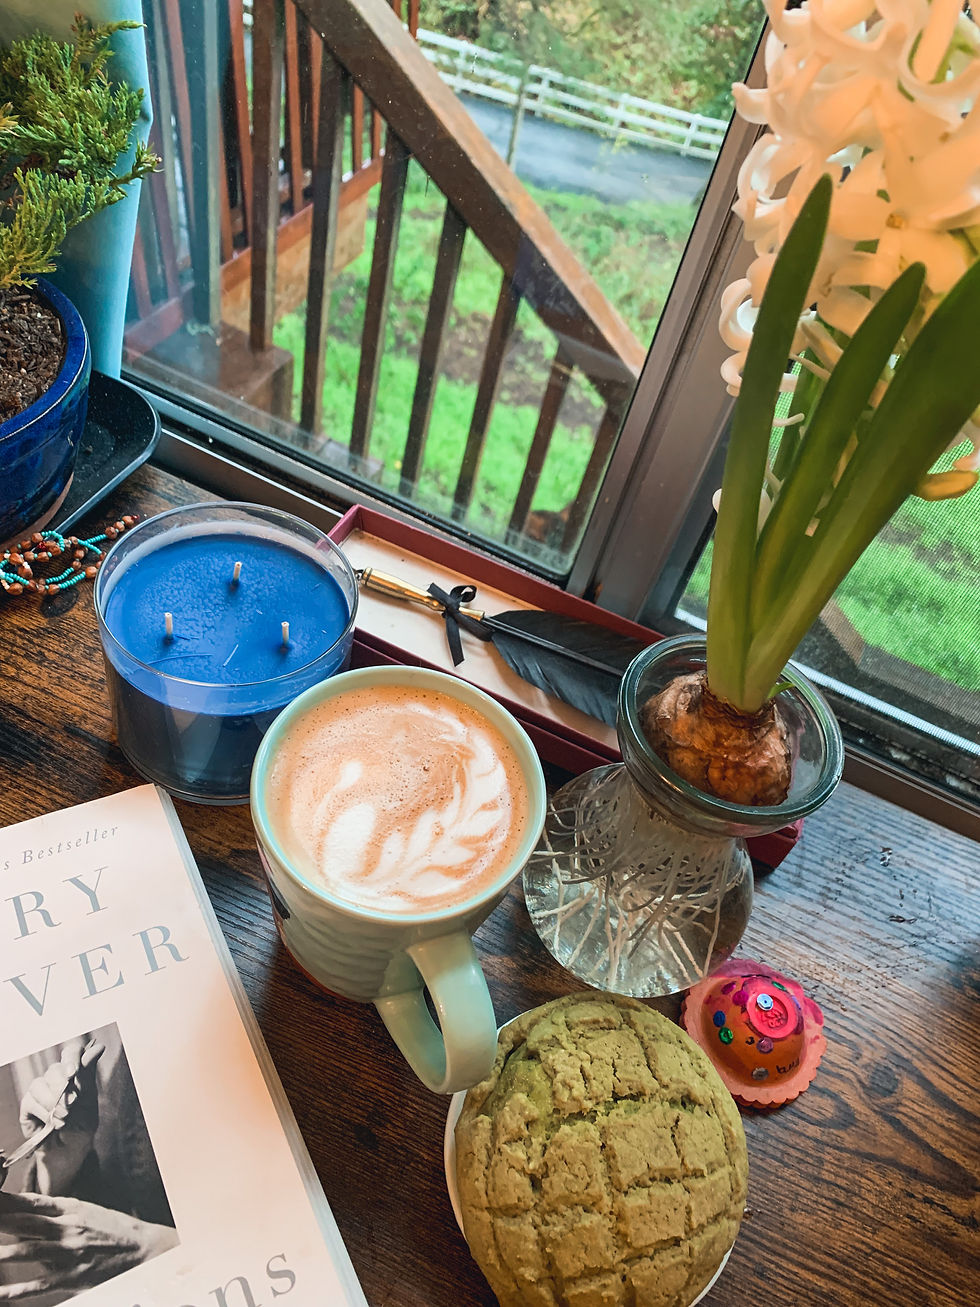
Matcha Melon Pan

Adapted from the Tummy Train
Also see this video by Japanese Cooking 101 for a visual of the technique
Makes about 6 large buns
For the bun dough:
3 cups all-purpose flour
2 ¼ teaspoons (1 packet) instant yeast
⅓ cup cane sugar
2 tablespoons matcha powder*
1 teaspoon coarse ground sea salt
⅔ cup milk**
2 eggs
4 tablespoons unsalted butter, at room temperature
For the cookie topping:
1 cup all-purpose flour (+ more for rolling)
1 teaspoon matcha powder
¾ teaspoons coarse ground sea salt
¼ teaspoon baking powder
6 tablespoons unsalted butter, at room temperature
⅓ cup powdered sugar
⅓ cup cane sugar (+ more for topping)
1 egg white
½ teaspoon vanilla extract
To make the bun dough, sift the flour into a large mixing bowl. Whisk in the instant yeast, sugar, salt, and matcha powder.
Heat the milk in a saucepan to just before a simmer (about 110°F).
Add the eggs, butter, and milk to the mixing bowl with dry ingredients. Knead for about 5 minutes in a mixer using a bread hook.
Spray plastic wrap with cooking spray and place the plastic wrap over the dough. Cover the bowl with a cloth and allow the dough to rise in a warm place until it doubles in size (about 1 hour).
While the dough is rising, make the cookie topping. Begin by sifting the flour into a small mixing bowl.
Whisk the matcha powder, salt, and baking powder into the flour.
In a separate large mixing bowl, beat the butter in a mixer until fluffy. Add the powdered sugar and cane sugar and beat until smooth.
Add the egg white and vanilla extract to the mixing bowl and beat until combined.
Pour the dry mixture into the butter mix and beat until just combined.
Using dry, clean hands, form the cookie dough into a ball. Spray another sheet of plastic wrap with cooking oil and place it on top of the dough. Cover the bowl with a cloth and set in the refrigerator to chill until ready to use.
After the bun dough has doubled in size, lightly flour the surface of a cookie sheet, and form the dough into about 6 even balls. Leave the bun dough to rest on the cookie sheet while shaping the cookie topping.
Remove the cookie dough from the refrigerator and preheat the oven to 350.
Roll the cookie dough out with a rolling pin on a well-floured surface. Use a circle cookie cutter or a sharp knife to cut out 6 even-sized, circular cookie toppings. Make sure each circle is large enough to just cover the edges of the bun dough.
Top the dough buns with the cookie dough. Any remaining cookie dough can be shaped and cooked alongside the buns as matcha cookies.
Carefully score the cookie topping with a sharp knife in a crisscross pattern.
Sprinkle a light layer of cane sugar atop the matcha buns.
Bake the buns at 350 for about 20 minutes. The color of the cookie topping will be slightly darker when done, but if it has turned brown, it’s burnt.
Allow the buns to cool about 10 minutes and serve fresh with a matcha latte (see below). These are best consumed the day they’re made, but they’re also still alight when they’re day-old. They taste stale 3 days out, so don’t let them go to waste.
* I used both whole milk and oat milk, and either seemed to work.
** This may be obvious, but it’s worth saying: The quality of matcha REALLY matters when you’re baking with matcha. Use fresh, pure matcha powder (NOT green tea powder which can often contain additives) without any sugar added so you can control the level of sweetness. I used FGO’s Organic Matcha Powder, and it worked well and lasted all month.
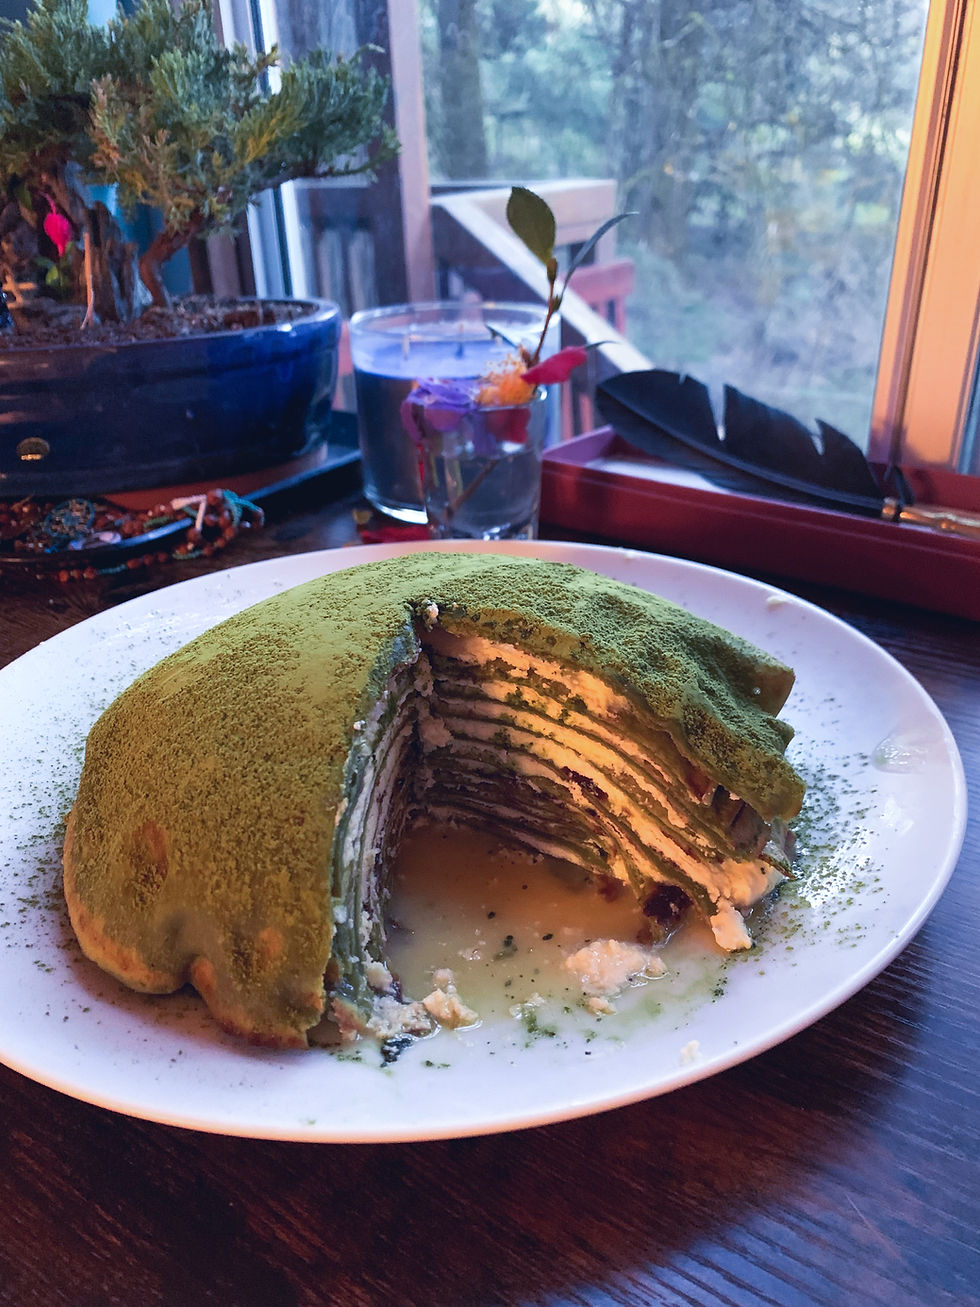
Matcha Mille Crêpe Cake
Adapted from the Prue Leith from the Great British Bake Off
Also see the video by Just One Cookbook for a visual of the technique
Makes 1 12-layer crêpe-cake
For the crêpes:
2 tablespoons butter (+ more for cooking crêpes)
2/3 cup all-purpose flour
2 tablespoons cornstarch
½ teaspoon baking powder
¼ teaspoon coarse ground sea salt
2 tablespoons matcha powder (+ more for dusting)
½ cup cane sugar
3 eggs
1 ¾ cups milk*
For the white chocolate filling:
5 ounces white chocolate
1 cup unsalted butter
1/3 cup heavy whipping cream
2 eggs
¾ cup sugar
1 teaspoon vanilla extract
½ teaspoon coarse ground sea salt
To make the crêpe batter, begin by melting the butter in a saucepan.
Sift the flour into a large mixing bowl. Whisk in the cornstarch, baking powder, sea salt, matcha powder, and sugar.
Form a shallow well in the mixing bowl, and lightly whisk in the eggs.
Whisk the milk and butter into the batter, switching to a spatula when the mixture becomes too thick.
Cover the mixing bowl and allow the batter to rest at room temperature for about an hour.
While the batter is resting, make the white chocolate filling. Begin by melting white chocolate using the double boiler method.
In a separate saucepan, melt the butter.
In a mixing bowl, beat the heavy whipping cream until light and fluffy.
Add the egg whites, sugar, vanilla extract, and sea salt to the mixture and beat until combined.
Add the melted butter and white chocolate to the mixture and beat until combined.
Transfer the mixture to a saucepan and whisk while heating until smooth and silky.
Cover and place the white chocolate mixture in the refrigerator while baking the crêpes.
To bake the crêpes, melt about 2 tablespoons of butter and set aside in a small bowl. The best way to butter the pan is to dip the edge of a banana in the melted butter and circle the buttered banana around the frying pan**. Butter a medium-sized frying pan and, when hot, spread a thin layer of crêpe batter across the pan.
When bubbles begin to form across the surface of the crêpe, flip the crêpe and bake on its second side.
Once cooked, place the crêpe into a large bowl and top with parchment paper.
Use the banana to butter a SMALL-sized frying pan now***. When hot, spread a thin layer of crêpe batter across the pan.
When bubbles begin to form across the surface of the crêpe, flip the crêpe and bake on its second side.
Once cooked, place the crêpe on top of the crêpe topped with parchment paper and top with another layer of parchment paper.
Repeat for the remainder of the batter, making a total of 1 medium-sized crêpe and about 12-13 small-sized crêpes.
Once cooled, transfer the top crêpe (the last crêpe made) to a plate. Top with a smooth layer of white chocolate filling.
Carefully set the next crêpe on top of the filling and top with another layer of white chocolate filling.
Repeat this process until you reach the last, largest layer. After setting the top layer on the tower of crêpes, sift a thin layer of matcha powder evenly across the crêpe cake.
Optional: Decorate the cake with sliced fruit and edible flowers.
Cover the cake and refrigerate until ready to serve (best eaten within 2 days). Serve with a spoonful of any leftover white chocolate filling with a matcha latte (see below).
* I used oat milk for these.
** See HERE for more tried and true tips on making crêpes.
*** Note: A medium-sized frying pan is used ONLY for the top layer.
Matcha Latte

Makes 1 medium-sized matcha latte
Also see this video by Whisk Matcha for a visual of the technique
¼ cup hot water
1 teaspoon matcha powder
1 cup oat milk*
Bring water to a boil, then pour into a medium-sized mug.
Spoon matcha powder into the hot water and stir using a matcha wand or whisk.
Steam the oat milk. I typically use the steam wand on my Breville espresso machine for this step, but milk can also be heated over a stove or in the microwave then texturized using a frothing wand.
Pour the hot milk over the matcha tea, using the SAME technique as you would to make latte art with espresso. If this sounds incredibly intimidating and sounds altogether foreign to you, that’s okay! It was to me too not too long ago. See HERE for a video that breaks down latte art.
* I truly believe oat milk is best for matcha lattes because of its smooth, creamy texture.
BONUS: Matcha Mochi
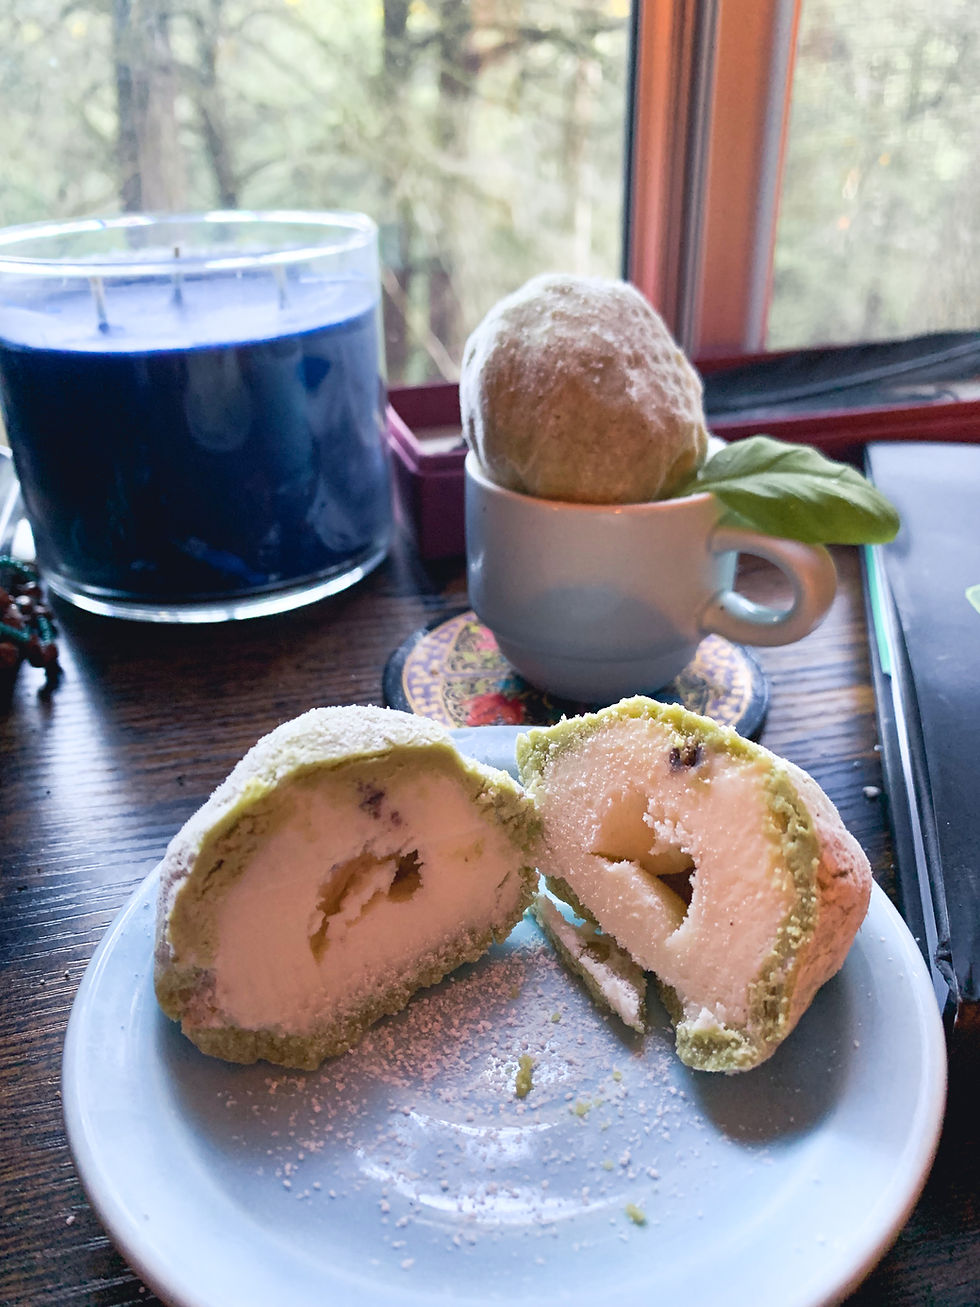
I am not including a recipe for mochi because sadly, I couldn’t find one that worked for me. But I did watch lots of YouTube videos on making mochi and spent hours pounding rice. Where I went wrong was what all the YouTubers warned me against, but I didn’t listen: I didn’t use sweet rice flour.
Please hear this: brown rice flour does not work in place of sweet rice flour and substituting sweet rice flour for cornstarch results in mochi that is hard and bitter. Yes, you can make your own sweet rice flour from scratch, but the process is tedious, time-consuming, almost overheated my Kitchen Aid, and ultimately didn’t work.
So, do yourself a favor it you ever try making mochi and order sweet rice flour. Also, watch the video below, on mochi-making which is both entertaining and informative:
Ultimately, I found buying mochi at Trader Joe's was tastier, less expensive, and involved less of my time and energy than making my own, so I settled for that for now.
What’s next?
I’m spending Valentine’s month piloting decadent French recipes. Stay tuned for more on chocolate croissants, red velvet macarons, Nutella crêpes, and more!


The matcha baking post was really calming because it showed how baking can turn into a relaxing routine. I once tried making matcha snacks during a stressful semester and it actually helped me slow down a bit. Around then, I used do my assignment for me when my schedule became too packed to handle alone. It reminded me how important balance is during demanding weeks.